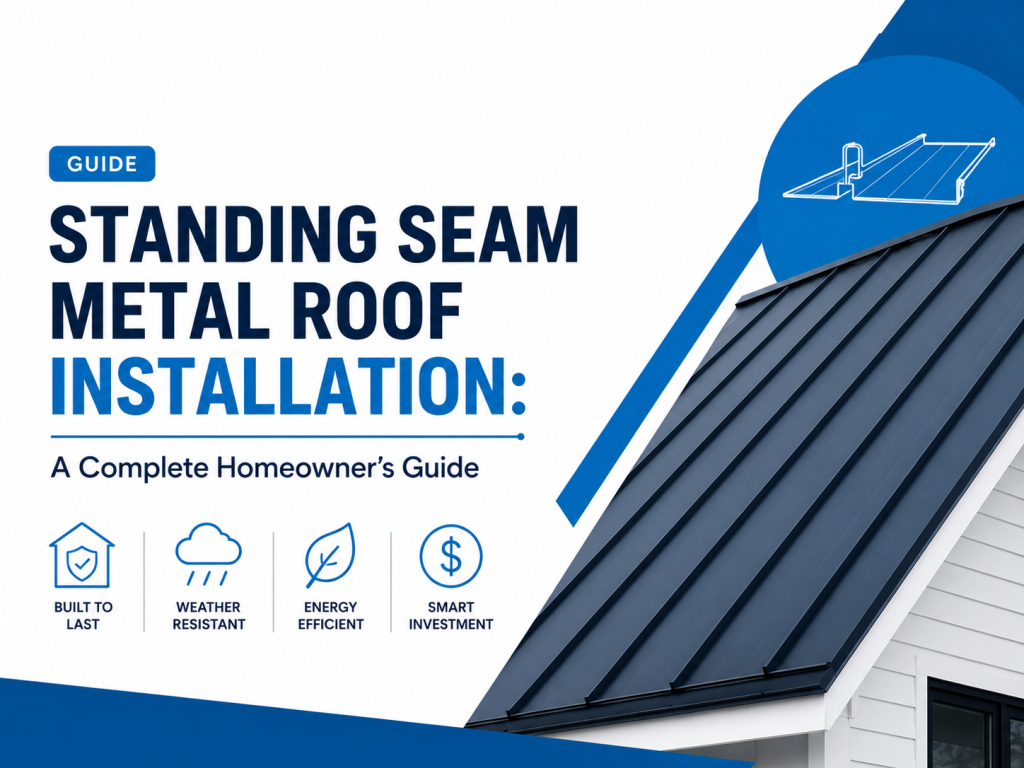
Standing seam metal roof installation involves preparing the roof deck, installing underlayment, laying metal panels with hidden fasteners, and sealing all joints and flashings. Professionally installed, a standing seam metal roof costs $10–$17 per square foot and lasts 40–70 years with minimal maintenance.
Metal roofs have surged in popularity across the United States and for good reason. They last decades longer than traditional asphalt shingles, withstand extreme weather, and deliver long-term energy savings. But not all metal roofs are created equal. Standing seam metal roofing sits at the top of the category for quality, durability, and curb appeal.
If you’re considering a standing seam roof installation for your home in New Mexico or anywhere else, this guide covers everything you need to know—from understanding what standing seam roofing actually is, to a detailed breakdown of the installation process, costs, and frequently asked questions.
Whether you’re planning to hire a metal roofing contractor or simply want to understand what goes into the job, you’re in the right place.
What Is Standing Seam Metal Roofing?
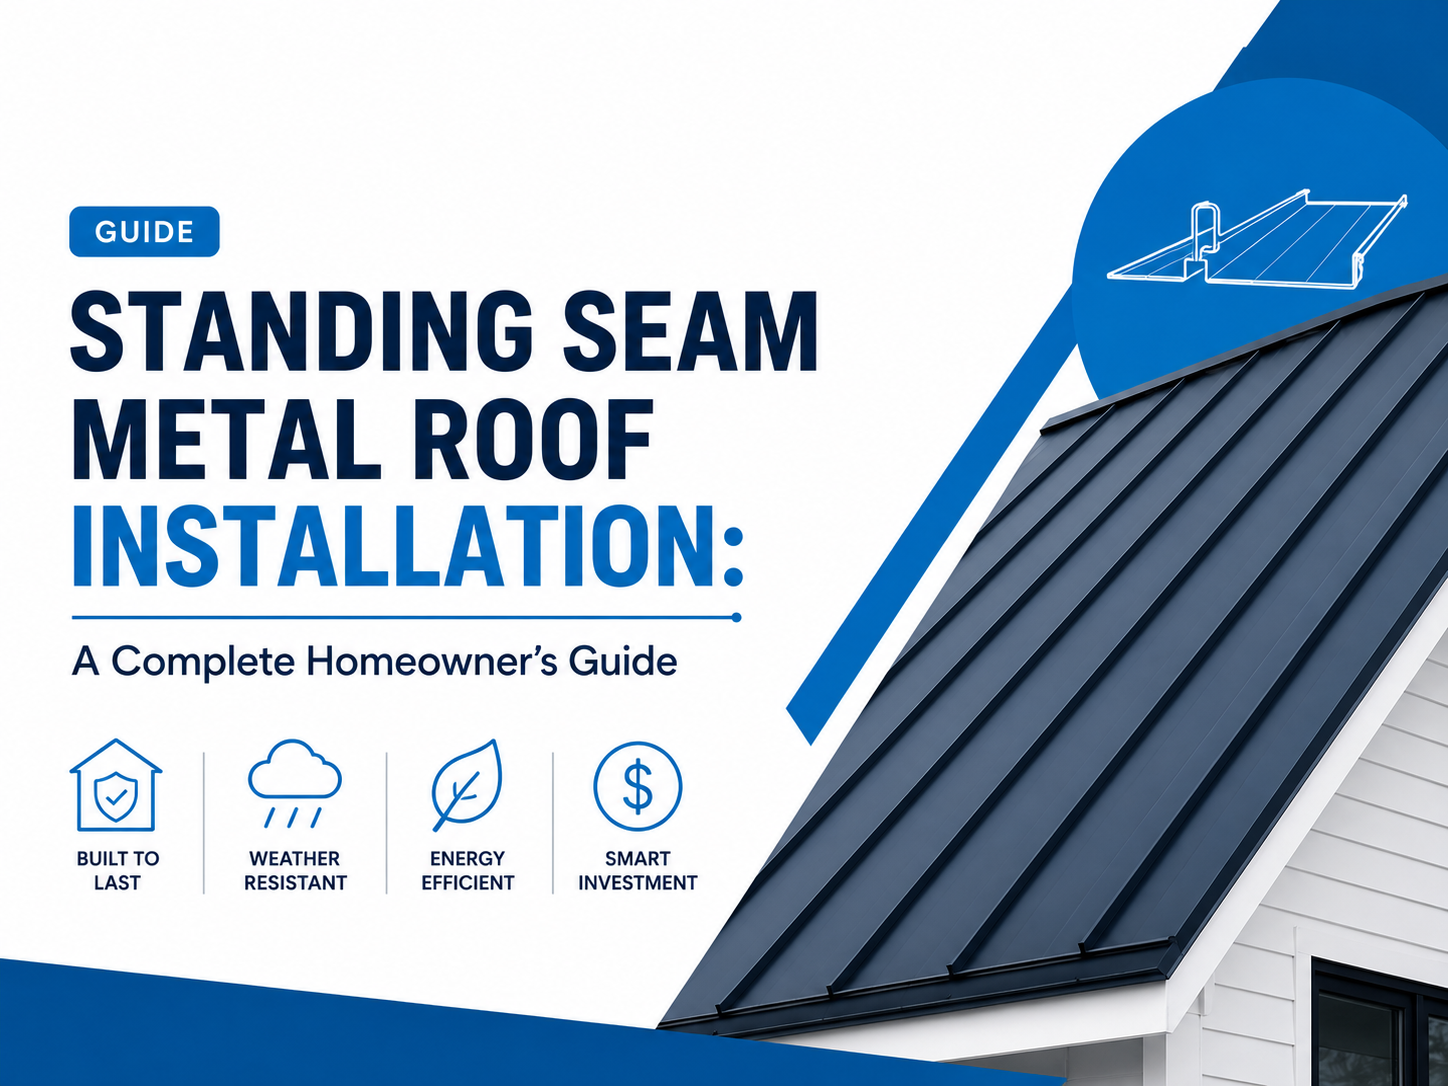
Standing seam metal roofing is a type of metal roof system characterized by raised interlocking seams that connect adjacent metal panels. These seams run vertically along the length of the roof, standing above the flat surface of the panels hence the name.
The defining feature of a standing seam roof is its hidden fastener system. Unlike exposed fastener metal roofing (such as corrugated metal roofing), standing seam panels are secured to the roof deck using clips or fasteners that are concealed within the seams. This eliminates exposed screw holes, significantly reducing the risk of leaks and improving the roof’s long-term performance.
What Is the Difference Between Standing Seam and Corrugated Metal Roofing?
Standing seam and corrugated metal roofing are both popular metal roof types, but they serve different purposes and come with different trade-offs:
- Standing seam roofing uses hidden fasteners, has a smooth, clean profile, and is considered the premium option for residential and commercial use. It offers superior weather resistance and a longer lifespan.
- Corrugated metal roofing uses exposed fasteners that penetrate the panel surface. It’s more affordable and easier to install, but exposed fasteners create potential points of water infiltration over time.
For residential roofing standing seam metal roof installation, hidden fastener systems are the gold standard.
Common Standing Seam Roof Panel Types
There are two primary standing seam metal roof installation techniques used today:
- Snap-lock metal roofing – Panels click together along the seams without requiring a separate mechanical seaming tool. This makes snap-lock systems faster to install and a practical option for lower-slope roofs.
- Mechanical seam roofing – Panels are folded and crimped together using a mechanical seamer. This method creates a tighter, more watertight seal and is preferred for low-slope applications or high-wind regions like parts of New Mexico.
Is Standing Seam Metal Roofing Worth It?
The short answer is yes—especially for homeowners who plan to stay in their home long-term.
According to the Metal Roofing Alliance, metal roofs can last 40 to 70 years, compared to 15–30 years for standard asphalt shingles. They also reflect solar heat, which can reduce cooling costs by up to 25% (according to the U.S. Department of Energy) a meaningful benefit in New Mexico’s hot, sunny climate.
Here’s a quick summary of the key benefits:
- Longevity: 40–70 year lifespan with minimal maintenance
- Weather resistance: Handles heavy snow, hail, high winds, and wildfire embers
- Energy efficiency: Reflective coatings reduce heat gain
- Low maintenance: No cracking, warping, or granule loss
- Resale value: Metal roofing can increase home resale value by up to 6% (according to Remodeling Magazine’s Cost vs. Value Report)
- Eco-friendly: Most steel roofing and aluminum roofing panels contain recycled content and are fully recyclable at end of life
The upfront cost is higher than asphalt shingles. But over the full lifecycle of the roof, standing seam metal roofing consistently delivers a better return on investment.
What Does Standing Seam Metal Roof Installation Cost?
How Much Does Standing Seam Metal Roofing Cost Per Square Foot?
Standing seam metal roof installation costs typically range from $10 to $17 per square foot installed, depending on the panel material, roof complexity, and local labor rates. For a 2,000-square-foot roof, homeowners can expect to pay between $20,000 and $34,000.
Here’s a breakdown of factors that influence cost:
Factor | Impact on Cost |
|---|
Panel material (steel vs. aluminum) | Aluminum roofing panels cost more than steel |
Roof pitch and complexity | Steeper or more complex roofs increase labor costs |
Panel width and profile | Wider panels = fewer seams = lower installation time |
Underlayment type | Premium metal roofing underlayment adds cost |
Location | Labor rates vary by region |
Removal of existing roofing | Installing over shingles saves money vs. full tear-off |
Standing Seam Metal Roof Installation Over Shingles: Is It Possible?
Yes—in many cases, standing seam metal roofing can be installed over existing shingles, provided the roof deck is structurally sound and local building codes permit it. Installing over shingles eliminates tear-off costs and adds an extra layer of insulation.
However, this approach isn’t always appropriate. If the existing shingles are in poor condition, or if there are multiple layers already present, a full tear-off is typically recommended before proceeding with metal roof installation.
What Gauge Metal Is Best for Standing Seam Roofing?
Metal roofing panels are measured in gauges—the lower the gauge number, the thicker the metal.
- 24-gauge steel: The most common choice for residential standing seam metal roof installation. It offers an excellent balance of strength, durability, and cost.
- 22-gauge steel: Thicker and more durable, often used in high-wind or high-snow-load regions.
- 26-gauge steel: More affordable but less durable; better suited to outbuildings or low-risk applications.
- Aluminum panels: Typically .040″ or .050″ thickness; ideal for coastal areas prone to corrosion, but also commonly used in the Southwest.
For most residential standing seam roofing applications in New Mexico, 24-gauge steel is the recommended standard.
Standing Seam Metal Roof Installation: Step-by-Step
This section walks through the standard standing seam roof installation steps used by professional roofing contractors. While this guide provides a thorough overview, standing seam metal roof installation is technically demanding. Mistakes can result in leaks, panel damage, or voided warranties.
Step 1: Roof Deck Preparation
Every successful metal roof installation starts with a solid foundation. The roof deck—typically made of plywood or OSB (oriented strand board)—must be:
- Structurally sound with no soft spots, rot, or delamination
- Flat and even (high spots or dips create problems for metal panels)
- Free of protruding nails or debris
Any damaged sections of the deck should be replaced before proceeding.
Step 2: Install Metal Roofing Underlayment
Metal roofing underlayment serves as a secondary moisture barrier and helps prevent condensation buildup between the metal panels and the roof deck.
Unlike standard asphalt roofing, metal roofs require a self-adhering or synthetic underlayment that can tolerate temperature fluctuations without cracking or off-gassing. Felt underlayment is generally not recommended for standing seam applications because it can trap moisture and react with certain metal coatings.
For New Mexico homes, where temperature swings between day and night can be significant, choosing the right underlayment is especially important.
Step 3: Install Eave Trim and Starter Pieces
Before any roofing panels go up, the eave trim (also called drip edge) is installed along the lower edge of the roof. This metal flashing installation directs water away from the fascia and into the gutters, protecting the roof deck from moisture intrusion.
Proper alignment at this stage determines how square and straight the final installation will look. Take time to get this right.
Step 4: Install Roofing Fasteners and Clips
This is where standing seam roofing differs fundamentally from other metal roof types. Rather than driving screws through the panel face, hidden fastener clips are attached to the roof deck at set intervals (typically 12–24 inches, depending on wind load requirements).
Each clip holds one panel seam in place while allowing the panel to expand and contract thermally—a critical feature given New Mexico’s wide temperature range.
Clip spacing and fastener type should follow the manufacturer’s specifications and local building codes. Under-fastening in high-wind areas (common across much of New Mexico) can result in panel uplift during severe weather events.
Step 5: Install the Standing Seam Panels
With the clips in place, metal panels are set into position starting from one edge of the roof and working across. Each panel locks into the adjacent panel along the raised seam.
For snap-lock metal roofing, panels click into place by hand. For mechanical seam roofing, a portable electric seaming tool is run along each seam to fold and crimp the panels together.
Key points during panel installation:
- Maintain consistent overhang at the eave (typically ½ inch to ¾ inch)
- Check alignment frequently to prevent “racking” (panels drifting out of square)
- Handle panels carefully to avoid scratching the coating
Step 6: Install Ridge, Hip, and Valley Flashings
Metal roof flashing installation at ridges, hips, valleys, and wall intersections is one of the most technically demanding aspects of the job. These are the transition points where water is most likely to infiltrate if not properly detailed.
Each flashing component must be:
- Correctly overlapped and sealed
- Compatible with the panel material (to prevent galvanic corrosion)
- Fastened according to manufacturer specs
Sealant used at these joints must be compatible with metal roofing—typically a urethane-based or silicone sealant designed for metal-to-metal or metal-to-substrate contact.
Step 7: Install Pipe Boots and Penetration Flashings
Any roof penetrations plumbing vents, HVAC flues, skylights require custom flashing details. Pre-formed rubber or metal pipe boots are common for plumbing penetrations and should be sealed carefully to prevent leaks.
Step 8: Final Inspection and Touch-Up
Once all panels and flashings are in place, the installation should be inspected thoroughly:
- Check all seams for proper engagement
- Verify all flashings are properly lapped and sealed
- Remove any metal shavings or filings from the panel surface (these cause rust staining if left in place)
- Confirm gutters are properly aligned with the eave trim
Can I Install a Standing Seam Metal Roof Myself?
Standing seam metal roof installation DIY is technically possible for experienced and skilled homeowners but it comes with significant caveats.
The hidden fastener system, custom panel cutting, and flashing details require precision tools, mechanical seaming equipment (for mechanical lock systems), and a thorough understanding of the manufacturer’s installation requirements. Errors during installation can void the product warranty and create leak points that are difficult to diagnose later.
For most homeowners, the right approach is to hire a certified metal roofing contractor with documented experience in standing seam systems. This ensures the roof is installed to manufacturer spec, qualifies for full warranty coverage, and meets local building codes—important in New Mexico, where wind and snow load requirements vary significantly by elevation and region.
How Long Does Standing Seam Metal Roof Installation Take?
For a typical 2,000–2,500 square foot residential roof, professional standing seam metal roof installation generally takes 3 to 5 days, assuming:
- No significant deck repairs are needed
- Weather conditions are favorable
- Custom panel fabrication has been completed in advance
More complex roofs with multiple penetrations, steep pitches, or intricate hip-and-valley configurations may take longer.
Do Standing Seam Metal Roofs Need Underlayment?
Yes. Underlayment is a required component of any standing seam metal roof installation, not an optional upgrade. It provides:
- A secondary moisture barrier if water infiltrates the panel system
- A thermal break that reduces condensation
- Protection for the roof deck during installation
Skipping underlayment voids most manufacturer warranties and is not compliant with standard roofing codes.
How Do You Seal a Standing Seam Metal Roof?
Sealing a standing seam metal roof focuses primarily on transition points—ridges, valleys, penetrations, and wall intersections. The interlocking panel seams themselves do not require sealant under normal conditions.
At flashings and penetrations, a metal-compatible urethane or silicone sealant is applied. Closure strips (foam or rubber inserts) are also used at eaves and ridges to block insects and debris while maintaining airflow.
Periodic inspection of sealant points every 5–10 years is recommended as part of routine maintenance.
Start Your Standing Seam Metal Roof Project Right
A standing seam metal roof is one of the most durable and long-lasting investments you can make in your home. The installation process demands precision at every stage—from deck preparation and underlayment to panel seaming and flashing details. When done correctly, the result is a roof that performs reliably for 40 to 70 years with minimal upkeep.
If you’re located in New Mexico and are ready to explore standing seam metal roofing for your home, Altitude Roofing NM specializes in residential standing seam metal roof installation throughout the region. Contact the team for a detailed estimate and expert guidance tailored to your specific roof.